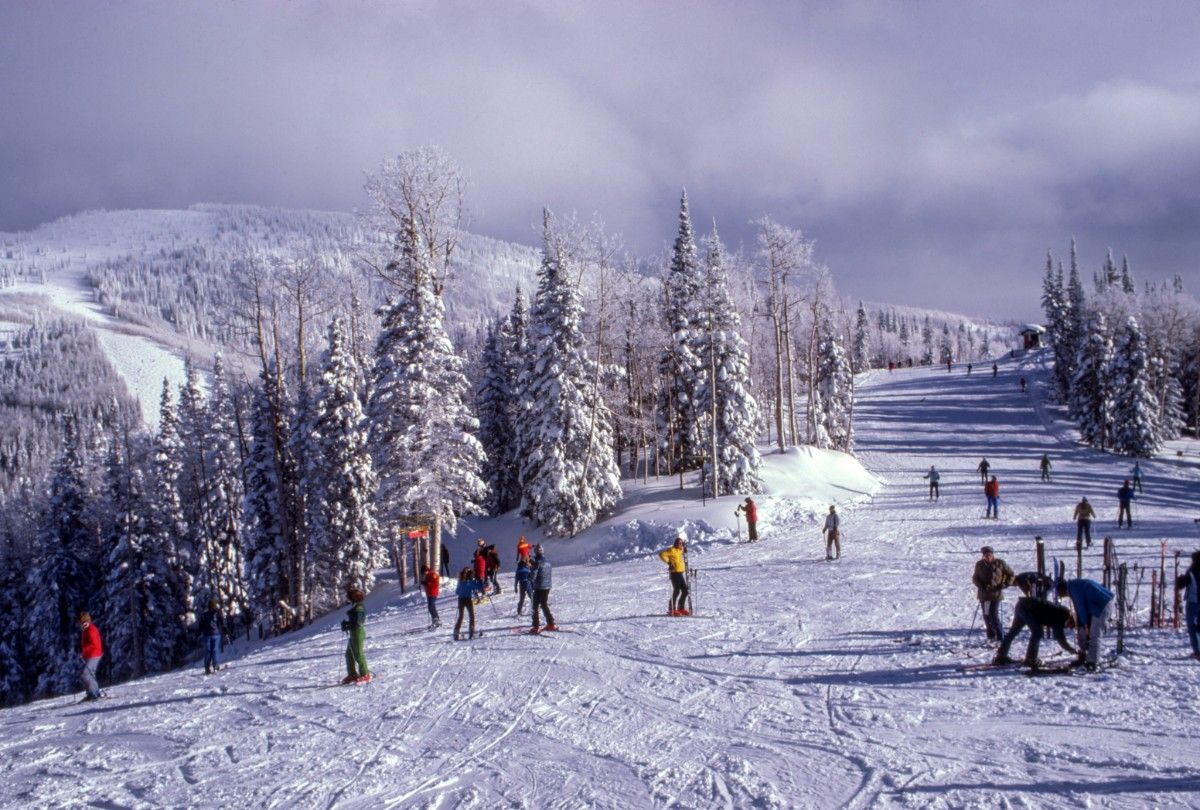
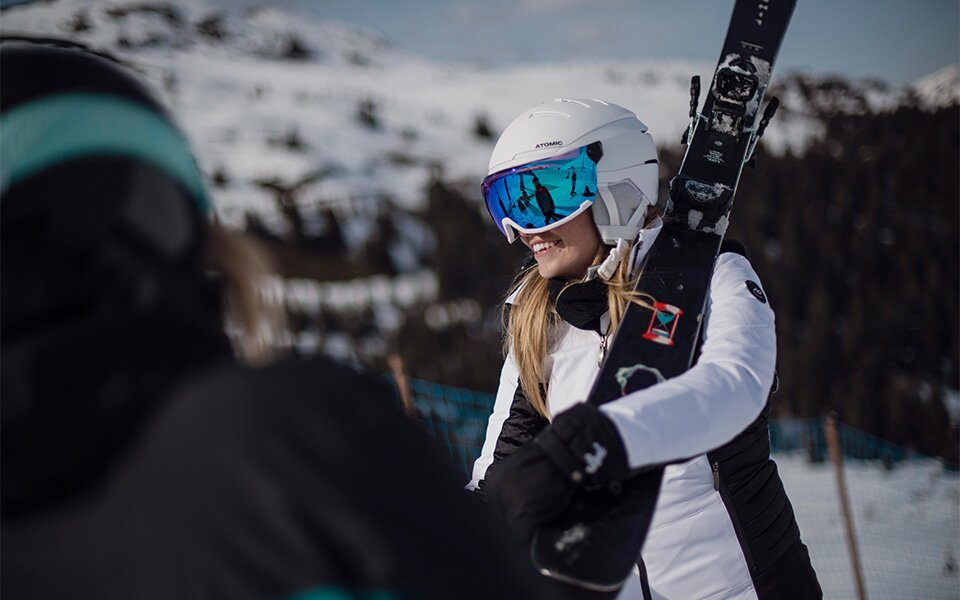
Skiing is an exhilarating winter sport that offers a perfect blend of adrenaline, physical challenge, and breathtaking scenery. Whether you're a complete novice hitting the slopes for the first time or an experienced skier looking to refine your technique, this comprehensive guide will provide you with valuable insights and practical tips to enhance your skiing experience. We'll explore a wide range of skiing techniques, from the fundamental basics for beginners to advanced manoeuvres for expert skiers. So, strap on your skis, and let's dive into the world of skiing techniques!
The Fundamentals: Getting Started on the Slopes
Understanding Your Equipment
Before you even set foot on the snow, it's crucial to familiarise yourself with your skiing equipment. Modern skis are designed to be user-friendly, but understanding how they work will give you a significant advantage on the slopes. Start by examining your skis: notice the curved edges, which help you turn, and the camber, the slight upward curve in the middle of the ski that provides stability and control. The width of the ski affects its performance in different snow conditions - wider skis are better for powder, while narrower skis are ideal for groomed runs.
Your ski boots are equally important. They should fit snugly but comfortably, allowing you to flex your ankles while providing firm support. When trying on boots, wear proper ski socks and spend some time walking around to ensure they're comfortable. Remember, a good fit is crucial for control and comfort on the slopes.
Bindings are the critical link between your boots and skis. They're designed to release in case of a fall, helping to prevent injury. It's essential to have your bindings professionally adjusted to your weight, height, and skiing ability. This ensures they'll release when necessary but stay secure during normal skiing.
Don't forget about safety equipment. A helmet is a must for skiers of all levels. Choose one that fits snugly and comfortably. Goggles protect your eyes from glare, wind, and snow, and should fit well with your helmet. Lastly, dress in layers. This allows you to adjust your clothing as conditions change throughout the day. A waterproof ski jacket is essential for staying dry and comfortable.
Mastering the Basic Stance and Movement
The foundation of good skiing lies in your stance and how you move on your skis. The proper skiing posture is crucial for maintaining balance and control. Stand with your feet about hip-width apart, knees slightly bent, and your weight evenly distributed over the middle of your skis. Your arms should be relaxed at your sides, with your hands slightly forward and holding your ski poles. This balanced position is your home base – you'll return to it frequently as you ski.
Practice moving in this stance on flat ground. Push yourself along with your poles, keeping your skis parallel. As you become comfortable, try lifting one ski at a time, then both skis together in small hops. This helps you get a feel for the weight of your skis and how to balance on them.
Next, learn to side-step up a small incline. Place your skis across the slope and step sideways up the hill, lifting the uphill ski and placing it higher on the slope, then bringing the lower ski up to meet it. This technique is useful for climbing short distances when you can't ski up.
Once you're comfortable moving on flat ground and climbing small inclines, it's time to learn how to stop. The most basic stopping technique is the snowplough, also known as the pizza slice due to its shape. To form a snowplough, point the tips of your skis together while pushing the tails apart. The wider you make this triangle shape, the more you'll slow down. Practice on a gentle slope, gradually widening and narrowing your snowplough to control your speed.
Learning to Turn: The Snowplough Turn
The snowplough turn is the foundation of all skiing techniques. It allows you to control your direction and speed, making it the perfect starting point for beginners. To execute a snowplough turn, start in the snowplough position on a gentle slope. To turn left, apply slightly more pressure to your right ski while keeping the snowplough position. For a right turn, do the opposite.
As you initiate the turn, look in the direction you want to go – your body will naturally follow your gaze. Keep your weight evenly distributed over both skis, but as you progress through the turn, you'll feel more weight on the outside ski (the right ski for a left turn, and vice versa).
Practice linking snowplough turns together, gradually making them smoother and more connected. Start with wide, slow turns and progressively make them narrower and faster as your confidence grows. Remember to keep your upper body facing downhill while your legs do the turning.
It's common for beginners to lean into the hill out of fear of falling. However, this actually makes you less stable and more likely to fall. Instead, focus on keeping your weight centred over your skis and leaning slightly forward. This forward lean might feel strange at first, but it puts you in a much more stable and controlled position.
As you become more comfortable with snowplough turns, start to experiment with varying the pressure on your skis to control your speed. Applying more pressure will slow you down, while less pressure will allow you to pick up speed. This subtle control is the beginning of more advanced skiing techniques.
Intermediate Skills: Refining Your Technique
Transitioning to Parallel Skiing
As you progress beyond the beginner stage, one of the most significant transitions is moving from the snowplough turn to parallel skiing. In parallel skiing, your skis remain side by side throughout the turn, allowing for smoother, faster, and more efficient skiing. This transition can be challenging, but with practice, it will become natural and intuitive.
To begin practising parallel turns, start on a gentle slope in the snowplough position. As you initiate a turn, gradually bring your skis parallel by steering the uphill ski into alignment with the downhill ski. At first, you may only achieve this parallel position at the end of your turn, but with practice, you'll be able to keep your skis parallel throughout the entire turn.
Focus on your body position during parallel turns. Keep your upper body facing downhill while your legs and hips do the turning. This separation between upper and lower body is known as counter-rotation and is crucial for maintaining balance and control. As you initiate the turn, shift your weight onto your outside ski (the left ski for a right turn, and vice versa) while keeping both skis on their edges.
Practice linking parallel turns together, starting with wide, slow turns and gradually progressing to narrower, faster turns. Pay attention to the rhythm of your turns – they should flow smoothly from one to the next. As you become more comfortable, try varying the shape and size of your turns to control your speed and direction.
Remember, the transition to parallel skiing is a process. Don't be discouraged if you find yourself reverting to the snowplough in challenging situations – this is normal and part of the learning process. With consistent practice, parallel skiing will become your default technique.
Mastering Edge Control
Effective edge control is the key to precise, controlled skiing. Edging refers to tilting your skis onto their sides, allowing the metal edges to grip the snow. Proper edging is essential for maintaining control, especially on steeper slopes or in icy conditions.
To practice edging, start on a gentle slope. As you traverse across the slope, gradually increase the angle of your skis by rolling your ankles and knees into the hill. You should feel the edges biting into the snow, providing stability and control. Practice this on both your toe-side and heel-side edges.
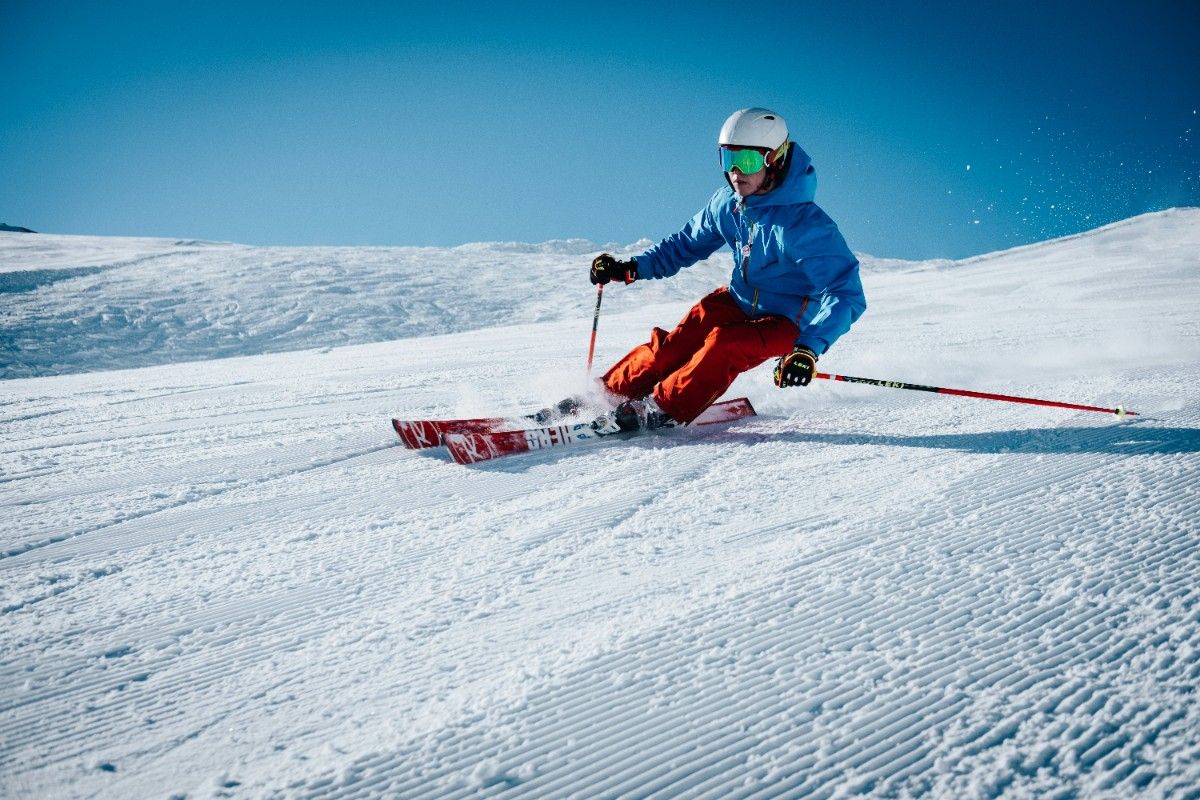
Next, incorporate edge control into your turns. As you initiate a turn, increase the edge angle of your outside ski. This will cause your skis to carve a clean arc through the snow. As you complete the turn, gradually decrease the edge angle to prepare for the next turn.
Pay attention to how different edge angles affect your turns. A higher edge angle will create a sharper, tighter turn, while a lower edge angle results in a wider, more sweeping turn. Experiment with varying your edge angle throughout the turn to control your speed and turn shape.
It's also important to develop independent leg action for effective edge control. Practice lifting one ski slightly off the snow while skiing, then the other. This will help you learn to control each ski independently, which is crucial for advanced techniques like absorbing bumps and skiing in varied terrain.
Introducing Pole Planting
Pole planting is a technique that helps with timing and balance, particularly when making short, quick turns. While it might seem simple, proper pole planting can significantly improve your skiing technique and is an essential skill for intermediate and advanced skiers.
To plant your pole, reach forward and down the slope with the pole on the side you're turning towards, touching it to the snow just as you begin to shift your weight to initiate the turn. The pole plant should be light – it's more of a touch than a forceful plant.
Start practicing pole planting on gentle terrain with slow, wide turns. As you approach the fall line (the imaginary line straight down the slope), reach forward with your downhill pole and plant it. Use this as a timing cue to begin your turn. As you complete the turn, your pole will naturally come off the snow, ready for the next plant.
As you become more comfortable with the basic pole plant, start to incorporate it into faster, shorter turns. The pole plant becomes particularly useful in mogul fields and steep terrain, where it helps maintain rhythm and balance.
Remember, the pole plant is not used for support or to actually turn you – it's a timing device and a way to keep your upper body stable and facing downhill while your legs do the turning. A common mistake is to plant the pole too far back, which can throw off your balance. Always aim to plant the pole tip in the snow ahead of your boot.
With practice, pole planting will become an integral part of your skiing technique, helping you maintain rhythm, balance, and control in a wide variety of terrain and snow conditions.
Advanced Techniques: Mastering the Mountain
Perfecting Short Radius Turns
For experienced skiers looking to take their skills to the next level, mastering short radius turns is crucial. These quick, precise turns allow you to navigate challenging terrain such as steep slopes, narrow chutes, and tight tree runs with confidence and control. Short radius turns require a high level of technical skill, body awareness, and precise movements.
To begin practicing short radius turns, start on a moderately steep, groomed run. Begin in a balanced stance with your skis shoulder-width apart. Initiate the turn by rolling your ankles and knees into the hill, engaging the edges of your skis. As you move through the fall line, quickly shift your weight to the other ski to begin the next turn. The key to short radius turns is maintaining a rhythm and keeping your turns connected.
Focus on using your legs independently. Your outside leg should extend as you move through the turn, while your inside leg retracts. This independent leg action allows you to maintain constant snow contact and absorb any bumps or variations in the terrain. Keep your upper body quiet and facing down the fall line, letting your legs do the work of turning.
Pole planting becomes even more critical in short radius turns. Your pole plants should be quick and precise, helping to set the rhythm for your turns. Plant your pole just as you're initiating the new turn, using it as a timing device rather than for support.
As you become more comfortable with short radius turns on groomed runs, start practicing on more challenging terrain. Moguls are an excellent place to refine your short turn technique. Use the sides of the moguls to help initiate your turns, absorbing the bumps with your legs as you move through the trough.
Remember, the key to mastering short radius turns is practice and patience. Start slowly and gradually increase your speed as your technique improves. With time, you'll be able to link together smooth, controlled short radius turns in even the most challenging terrain.
Mastering Off-Piste and Powder Skiing
Venturing off-piste and into powder snow opens up a whole new world of skiing experiences. However, skiing in deep, ungroomed snow requires a different technique than skiing on packed, groomed runs. Mastering these techniques will allow you to float effortlessly through powder fields and navigate variable off-piste conditions with confidence.
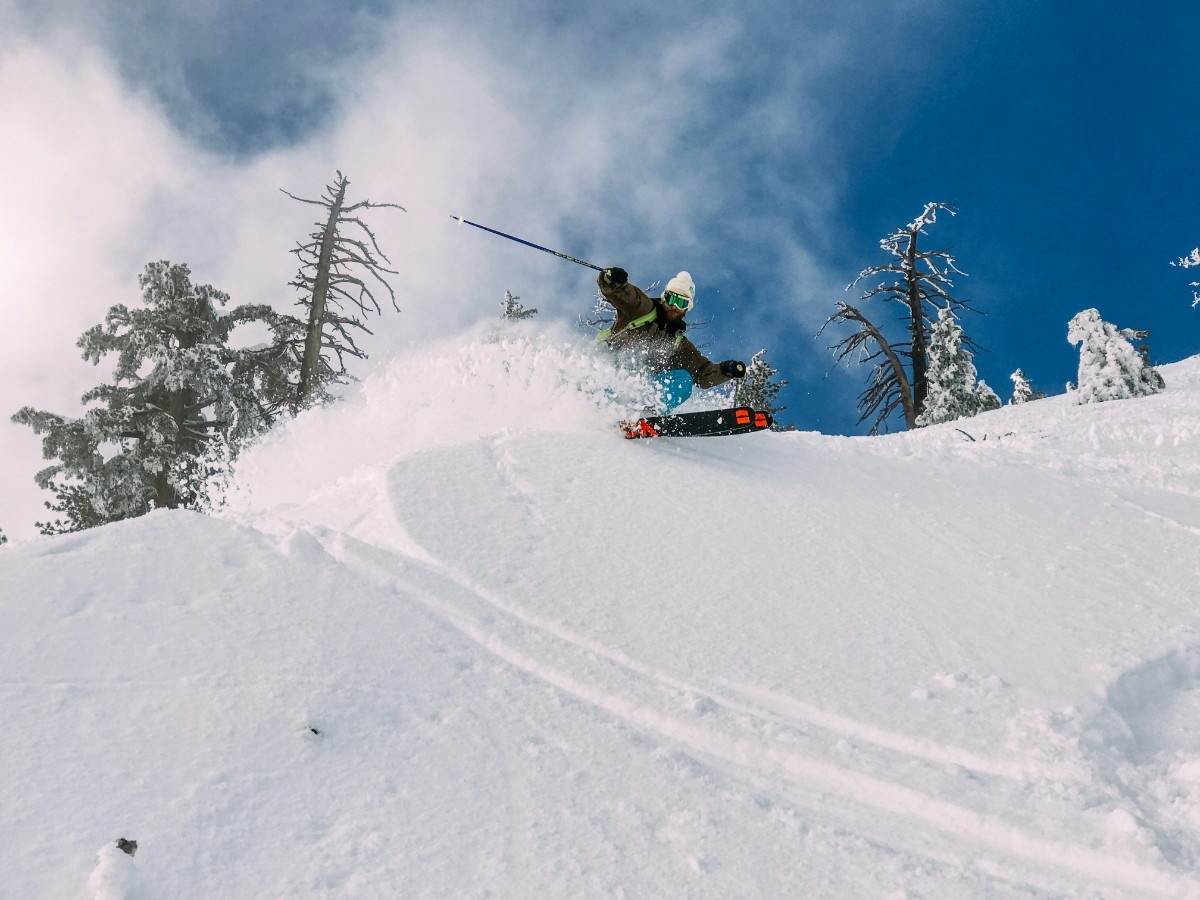
The key to powder skiing is maintaining your speed and staying on top of the snow. In deep powder, use a wider stance than you would on groomed runs. Keep your weight centred over your skis, or even slightly back – this helps keep your ski tips up and prevents them from diving into the snow.
Make wider, more fluid turns in powder. Instead of using your edges to carve turns as you would on groomed snow, think of your skis as a platform that you're steering through the powder. Keep your turns rounded and smooth, avoiding sharp, abrupt movements that can cause you to lose your balance or get stuck in the deep snow.
Maintain a consistent speed as you move through powder. If you slow down too much, you'll sink into the snow and may find it difficult to get moving again. If you feel yourself sinking, shift your weight back slightly and widen your stance to distribute your weight over a larger area.
In variable off-piste conditions, where you might encounter a mix of powder, crud, and hard-packed snow, be prepared to adjust your technique quickly. Keep your knees soft and your body relaxed to absorb any unexpected bumps or changes in snow consistency. Look ahead and try to anticipate changes in the terrain or snow conditions.
Remember, skiing off-piste comes with additional risks. Always ski with a partner, carry appropriate avalanche safety gear (beacon, shovel, probe), and know how to use it. Be aware of the current avalanche conditions and never ski in closed or out-of-bounds areas without proper knowledge and equipment.
Advanced Carving Techniques
Carving is the art of using your skis' shaped design to make clean, precise turns without skidding. While basic carving is an intermediate skill, advanced carving techniques can take your skiing to a whole new level of precision and speed.
To start working on advanced carving, find a wide, moderately steep groomed run. Begin by making large, sweeping carve turns. As you initiate the turn, roll your ankles and knees sharply into the hill to engage the full length of your ski's edge. You should feel the ski bend into an arc, which will guide you through the turn.
Focus on maintaining constant pressure along the entire length of the ski throughout the turn. This requires subtle adjustments in your body position and edge angle as you move through different phases of the turn. At the start of the turn, your body should be low and the edge angle high. As you reach the fall line, extend your legs slightly and decrease the edge angle. Then, as you complete the turn, flex again and increase the edge angle to maintain pressure.
Practice linking these turns together, feeling the rhythm of flexing and extending through each turn. As you become more comfortable, start to decrease the size of your turns, making them shorter and quicker. This requires faster, more precise movements and a greater degree of body control.
Advanced carving also involves using different turn shapes for different situations. Practice making J-turns, where you stay on one set of edges for an extended period before making a quick edge change. Or try a double-turn, where you make two quick turns in rapid succession followed by a longer, drawn-out turn.
Remember, advanced carving requires significant physical effort and precise technique. Make sure you're physically prepared for the demands of this high-performance skiing style. With practice, you'll be able to carve precise, efficient turns in a variety of conditions and terrain.
Skiing Safety and Etiquette: Essential Knowledge for All Levels
Understanding and Following the Skier's Responsibility Code
Safety on the slopes is everyone's responsibility, and understanding and following the Skier's Responsibility Code is crucial for ensuring a safe and enjoyable experience for all. This code, established by the National Ski Areas Association, provides a set of guidelines that all skiers and snowboarders should follow.
First and foremost, always stay in control and be able to stop or avoid other people or objects. This means skiing at a speed appropriate for your ability level, the terrain, and the current conditions. Be aware of your surroundings at all times, including other skiers, signs, and obstacles.
People ahead of you have the right of way. It's your responsibility to avoid them. This means always looking uphill before merging onto a trail or starting your descent. Be especially cautious in areas where trails merge or near the crest of a hill where you can't see what's on the other side.
Never stop where you obstruct a trail or are not visible from above. If you need to stop, move to the side of the run where you're visible to oncoming skiers. If you fall, make an effort to get up and move to the side of the run as quickly as possible.
Whenever starting downhill or merging into a trail, look uphill and yield to others. This is similar to yielding to oncoming traffic when merging onto a highway. Always give yourself enough time and space to merge safely without forcing others to alter their course or speed.
Always use devices to help prevent runaway equipment. This means using ski brakes on your skis and snowboard leashes for snowboards. These devices can prevent your equipment from sliding down the hill if it becomes detached, potentially injuring others.
Observe all posted signs and warnings, and keep off closed trails and out of closed areas. These areas are closed for good reasons, often due to dangerous conditions or ongoing maintenance work. Respect these closures for your safety and the safety of others.
Prior to using any lift, you must have the knowledge and ability to load, ride and unload safely. If you're unsure about how to use a particular type of lift, don't hesitate to ask for assistance from the lift operators. They're there to help ensure everyone's safety.
By understanding and following these guidelines, you contribute to a safer skiing environment for everyone on the mountain. Remember, safety is not just about protecting yourself, but also about being considerate of others and helping to prevent accidents before they happen.
Proper Equipment Maintenance and Usage
Proper maintenance and use of your skiing equipment is not just about prolonging its life – it's a crucial aspect of skiing safety. Well-maintained equipment performs better and is less likely to fail at critical moments, reducing your risk of injury.
Start with your skis. Regularly inspect them for any damage, such as deep scratches, core shots, or delamination. Minor scratches can be repaired at home with a P-tex candle, but more significant damage should be addressed by a professional. Keep your ski edges sharp – dull edges can't grip the snow effectively, especially on hard-packed or icy slopes. Learn to use an edge tuner or have your edges professionally sharpened regularly.
Waxing your skis is also important for both performance and longevity. A well-waxed ski glides more smoothly through the snow, making turning easier and reducing fatigue. How often you need to wax depends on how much you ski and the snow conditions, but as a general rule, wax your skis every 4-6 days of skiing.
Your ski bindings are a critical safety component. Have them inspected and adjusted by a certified technician at least once a season, or if you've significantly changed weight or skiing ability. Bindings that are too loose can release prematurely, while bindings that are too tight may not release when they should, increasing your risk of injury in a fall.
Boots are another crucial piece of equipment. Make sure they fit properly – boots that are too loose can reduce control, while boots that are too tight can cause discomfort and even injury. Replace the liners if they've packed out, and regularly check the soles for wear. Worn soles can affect how your boots interface with your bindings, potentially compromising their release function.
Don't forget about your safety equipment. Inspect your helmet for any cracks or damage, and replace it if it's been involved in a significant impact or is more than 5 years old. Clean your goggles carefully to avoid scratching the lenses, and replace them if the lenses are badly scratched or the foam is deteriorating.
Proper storage of your equipment when you're not using it is also important. Store your skis in a cool, dry place, away from direct heat. Use a ski strap to keep the bases together, protecting the camber. Store your boots buckled (but not too tight) to help them maintain their shape.
By properly maintaining and using your equipment, you not only ensure better performance on the slopes but also significantly reduce your risk of equipment-related accidents or injuries.
Avalanche Awareness and Backcountry Safety
While skiing within resort boundaries is generally safe from avalanches due to extensive control measures, venturing into the backcountry or even side-country (accessible from resorts but not patrolled) exposes you to significant avalanche risk. Understanding avalanche dynamics and practicing proper backcountry safety is crucial for any skier looking to explore beyond the groomed runs.
First and foremost, proper education is essential. Take an avalanche safety course before venturing into the backcountry. These courses teach you how to recognise avalanche terrain, understand snow science, and use avalanche safety equipment. They also provide practice in companion rescue techniques, which can be life-saving in an emergency.
Always check the local avalanche forecast before heading out. These forecasts provide crucial information about current snow conditions, recent avalanche activity, and specific areas of concern. Learn to interpret these forecasts and use them to inform your decision-making process.
Carry proper avalanche safety equipment and know how to use it. The essential items are an avalanche beacon (or transceiver), a probe, and a shovel. Your beacon should be worn close to your body and turned on before entering avalanche terrain. Practice using your beacon regularly – in an emergency, every second counts.
Never ski alone in the backcountry. Always travel with at least one partner, and ideally in a group of three or four. This provides safety in numbers and ensures there are enough people to perform a rescue if necessary. Discuss your plans and concerns openly with your group, and be willing to turn back if conditions seem unsafe or if any member of the group is uncomfortable.
Learn to recognise avalanche terrain. Avalanches typically occur on slopes between 30 and 45 degrees, but can affect gentler slopes below. Be aware of terrain traps – areas where the consequences of an avalanche would be more severe, such as gullies, cliffs, or trees.
Practice safe travel techniques. When ascending, spread out to minimise the load on any one part of the slope. When descending, ski one at a time, with others watching from safe zones. Always have an escape route planned in case you trigger an avalanche.
Remember, no snow is 100% safe. Even with proper education and equipment, there's always a level of risk in backcountry skiing. Always err on the side of caution, and never let the desire for fresh tracks override sound judgment. The mountain will always be there another day – make sure you are too.
Related Articles

Let us know you agree to cookies
We use marketing, analytical and functional cookies as well as similar technologies to give you the best experience. Third parties, including social media platforms, often place tracking cookies on our site to show you personalised adverts outside of our website.
We store your cookie preferences for two years and you can edit your preferences via ‘manage cookies’ or through the cookie policy at the bottom of every page. For more information, please see our cookie policy.
