Extend The Life Of Your Ski Boots

Ski boots face relentless stress from flexing, moisture, temperature shifts, and impacts. Neglecting care compromises their structural integrity, fit, and safety. High-quality boots can last 200+ ski days if maintained well, while entry-level models may deteriorate after just 50–100 days. Protecting this investment means consistent comfort and performance, reducing replacement costs and environmental waste
Key Factors Affecting Ski Boot Lifespan
Several elements influence how long your boots endure:
- Materials and Construction: Premium boots use durable plastics and reinforced soles, outlasting budget models.
- Usage Frequency: Regular skiers (20+ days/year) should prioritise robust maintenance.
- Skiing Conditions: Icy terrain, rocks, and extreme cold accelerate wear.
- Maintenance Habits: Simple routines—like drying liners—add years to your boots' life
Daily Care: Essential Rituals
1. Clean After Every Use
Remove liners and insoles, then hand-wash them with mild soap. Wipe shells with a damp cloth to eliminate salt, dirt, and bacteria. Why? Moisture breeds mould and odours, degrading materials
2. Dry Thoroughly
Never store damp boots. Use a boot dryer (e.g., DryGuy DG1) or air-dry liners separately overnight. For stubborn odours, sun-dry liners—UV rays kill bacteria.
3. Avoid Walking in Boots
Ski boot soles aren’t designed for pavement. Walking wears down heels/toes, compromising binding safety. Use Cat Tracks (detachable rubber soles) or carry boots when transitioning between slopes and lodges.
4. Wear Clean, Dry Socks
Reused socks transfer sweat and bacteria into liners, causing odours and liner breakdown.
Off-Season Storage: Preserving Shape and Function
Proper storage during the off-season is essential for extending the life of your ski boots. When your boots are not in use, they are still vulnerable to environmental factors such as temperature changes, humidity, and pests. To ensure your boots remain in optimal condition, start by giving them a thorough deep clean at the end of the ski season. Remove the liners and insoles, and wash them according to the manufacturer’s instructions. Wipe down the shell with a damp cloth to remove any remaining dirt or salt residue. Allow all components to air-dry completely before reassembling the boots.
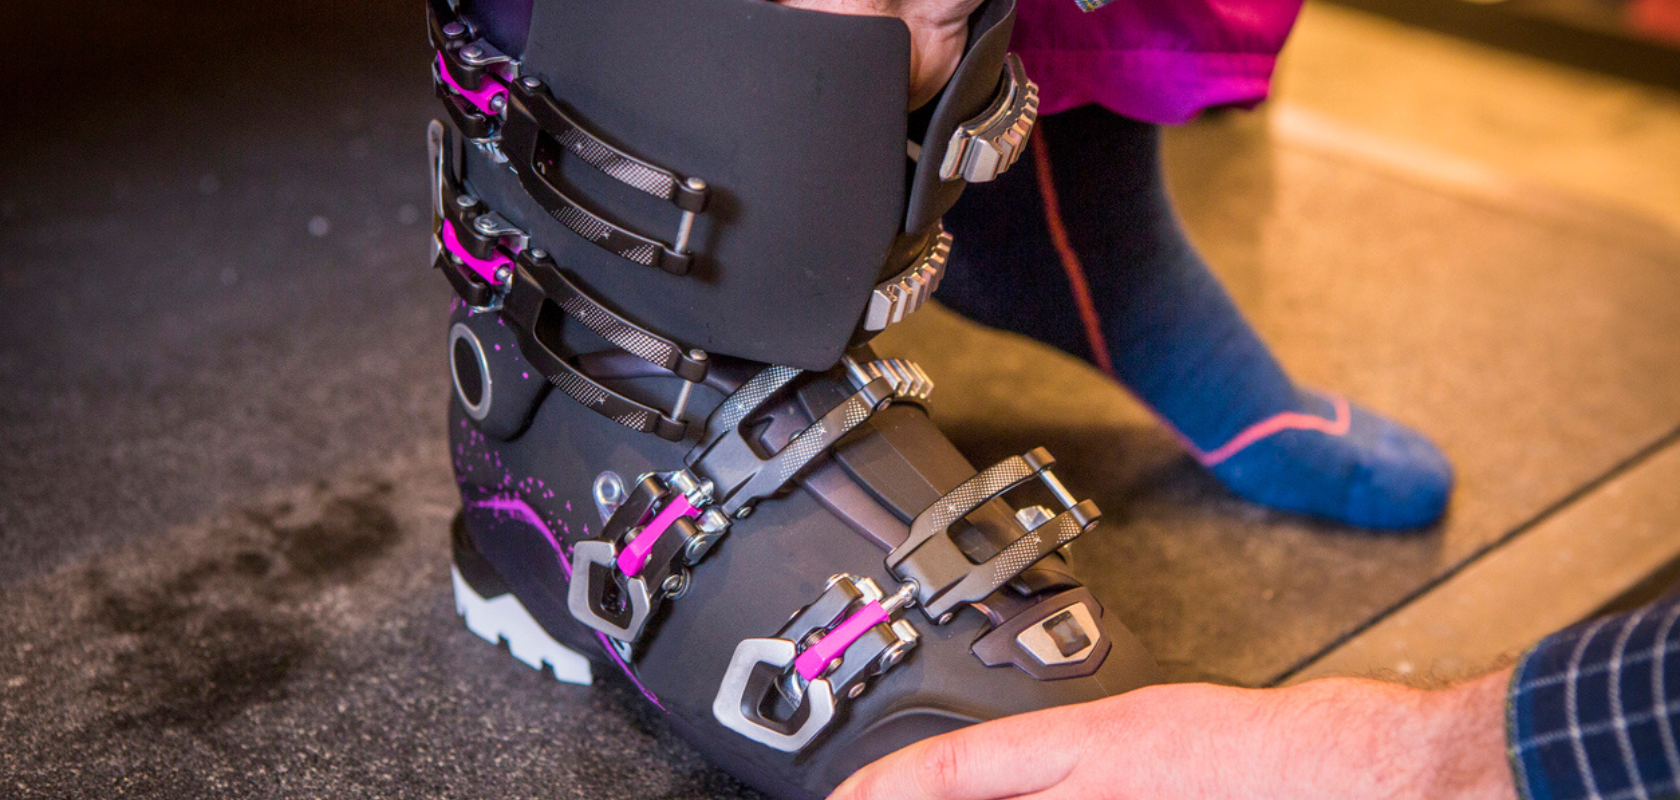
Once your boots are clean and dry, it’s important to rebuckle them to the same tightness you would use when skiing. This helps maintain the shape of the shell and prevents the plastic from becoming misshapen over time. Avoid storing your boots with the buckles fully closed or completely open, as both extremes can cause the plastic to fatigue or lose its original form.
Choosing the right storage location is another key factor. Avoid garages, sheds, or other areas that are prone to dampness, extreme temperatures, or pests. Instead, store your boots in a cool, dry place inside your home, such as a wardrobe or under-bed storage box. If possible, use a breathable storage bag or a dedicated boot rack to allow air circulation and prevent moisture buildup. Direct sunlight should also be avoided, as prolonged exposure can cause the plastic to become brittle and discoloured.
Replacing Parts and Professional Services
Even with the best daily care and storage practices, ski boots will eventually show signs of wear and tear. Recognising when to replace key components can make a significant difference in the longevity and performance of your boots. The liners, for example, are one of the first parts to wear out. Over time, the padding can become compressed, reducing comfort and support. Most manufacturers recommend replacing liners every 100 to 150 ski days, depending on usage and care. Aftermarket liners, such as those from Intuition, can offer a custom fit and improved cushioning, effectively extending the life of your boots.
The soles of your ski boots are another critical component. Worn or damaged soles can affect the boot’s ability to engage with ski bindings, compromising safety on the slopes. Many modern ski boots feature replaceable soles, allowing you to swap out worn parts without needing to purchase a whole new pair of boots. If your boots do not have replaceable soles, consider upgrading to a model that does for your next purchase.
Regular visits to a professional bootfitter can also help prolong the life of your ski boots. A bootfitter can inspect the shell for cracks or other structural issues, check the function of the buckles, and assess the condition of the liners. They can also perform heat-moulding services to ensure your liners continue to provide a custom fit as they age. Additionally, a bootfitter can check the compatibility of your boots with your ski bindings, ensuring safe and reliable performance on the mountain.
Signs It’s Time to Replace Your Boots
Even with meticulous care, boots eventually retire. Watch for:
- Visible Shell Damage: Cracks, deep gouges, or deformed cuffs.
- Liner Collapse: Uneven padding or persistent odours despite cleaning.
- Binding Incompatibility: Worn soles that fail to engage bindings securely.
- Discomfort: Pain or reduced control signals structural failure.
FAQs
You should clean your ski boots after every use to remove moisture, dirt, and bacteria. Regular cleaning prevents mould, odours, and material degradation, helping your boots last longer.
It is not recommended to walk in ski boots on hard surfaces such as pavement or concrete. Doing so can wear down the soles and affect the boot’s ability to engage with ski bindings. Use Cat Tracks or carry your boots to protect the soles.
Store your ski boots in a cool, dry place inside your home, away from direct sunlight and damp conditions. Clean and dry them thoroughly before storage, and consider using silica gel packs to absorb any residual moisture.
Ski boot liners should be replaced every 100 to 150 ski days, or when you notice a loss of cushioning and support. Aftermarket liners can help restore comfort and extend the life of your boots.
A professional bootfitter can inspect your boots for damage, ensure proper fit, and perform maintenance such as heat-moulding liners. They can also check binding compatibility and recommend when to replace worn parts.
Related articles

Let us know you agree to cookies
We use marketing, analytical and functional cookies as well as similar technologies to give you the best experience. Third parties, including social media platforms, often place tracking cookies on our site to show you personalised adverts outside of our website.
We store your cookie preferences for two years and you can edit your preferences via ‘manage cookies’ or through the cookie policy at the bottom of every page. For more information, please see our cookie policy.


